[siteorigin_widget class=”SiteOrigin_Widget_Image_Widget”][/siteorigin_widget]
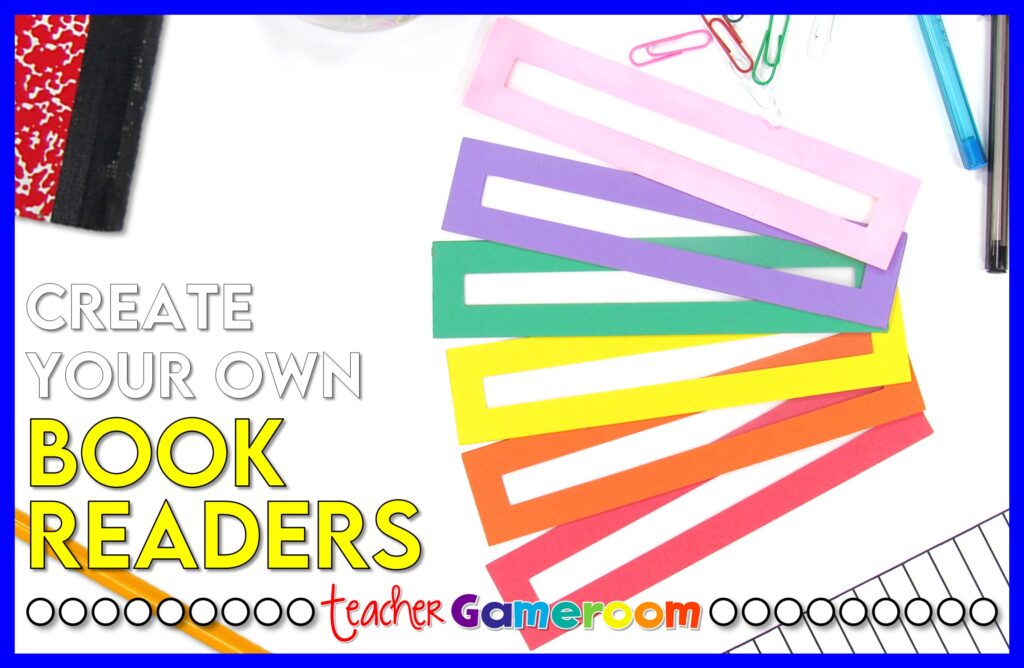
Welcome to my first Classroom Cricut Crafts! This monthly series shows you craft ideas that you can make and use in your classroom. Great for teachers on a budget. I’ll be showing you how to make gifts for teachers and colleagues, tools to use the classroom, and bulletin board ideas that will blow you away. Cricut Machines are need for most of these crafts, if not all of them, so if you need convincing to get one, I highly recommend it.
Let’s get started with the first craft!
[siteorigin_widget class=”SiteOrigin_Widget_Image_Widget”][/siteorigin_widget]
Project: Reading Helpers
This idea came up while I was helping my niece who’s in kindergarten read her book. She was skipping sentences a few times. I stopped her to get some reading helpers I had recently bought, but couldn’t find them. I got them from Dollar Tree, however I knew the odds of finding them there again would be slim to none. I decided would try and make some on my own.
[siteorigin_widget class=”SiteOrigin_Widget_Image_Widget”][/siteorigin_widget]
Gather your Supplies!
Here are the materials you need to get started. Some are optional. All you really need is vinyl and a clipboard, but extra materials are extra helpful.
Materials Needed:
– Cricut machine
– Cardstock/Posterboard
– Glue Tape
– Clear Plastic Sheets (like transparency paper)
When choosing your cardstock, it can be solid color or with designs. Regular paper or construction paper is too flimsy and will not hold up as well. Remember, kids will use (and abuse) them. Small precut poster board is great and can be bought in bulk. Clear plastic sheets can be anything from transparency sheets, strong sheet protector, or even presentation protectors, which is what I used. If you want colorful plastic sheets, binder dividers are a great start.
[siteorigin_widget class=”SiteOrigin_Widget_Image_Widget”][/siteorigin_widget]
Design the Readers!
The design is very simple. Using Microsoft PowerPoint, I made the shapes I needed, which included the outside design and the clear insert. I saved the shapes and uploaded them to design space. If you need a bigger or smaller size, you can make adjustments as needed. Find some books that you’ll be using most often and measure the letters with a ruler. For younger students, the fonts will be much bigger, so your “window” will be much bigger than a student who’s in the upper grades. You can download the PNG here.
[siteorigin_widget class=”SiteOrigin_Widget_Slider_Widget”][/siteorigin_widget]
Cut it Out!
I used AstroBrights cardstock to cut the outside but any type of cardstock or strong, durable paper will do. I used clear plastic presentation protectors from the Dollar Tree for the inside. I used “posterboard setting” to cut the cardstock. Sometimes the Cricut machine won’t cut all the way through. I used “overhead projector plastic” for the clear plastic insert.
[siteorigin_widget class=”SiteOrigin_Widget_Image_Widget”][/siteorigin_widget]
Time to use some glue!
Once all the pieces have been cut by the cricut, it’s time put it together. I used glue tape from Dollar Tree, which was very sticky, to help the pieces together. I would advise against bottled glue, hot glue, rubber cement, and glues like this as using them would leave bumps through out the readers. Glue tapes makes the best adhesive for a flat surface.
Building the reader is very simple. First, glue the plastic to the cardstock. Then, glue the other cardstock on top of that. You can mix and match the colors as you like. When I taught 2nd grade, I had small reading groups organized by colors so this is a great way to keep up with the readers. Once glued together, I would set it aside so the glue has time to set.
[siteorigin_widget class=”SiteOrigin_Widget_Image_Widget”][/siteorigin_widget]
Test it out!
It’s time to test out your brand new reader. Find a book and check to see if the reader works properly. That is, make sure the words and letters fit in the window and that one sentence appears at a time.
If all is good, you make as many reader as you need. These reader are great because they are easy to make and don’t cost very much to make. Great to add to bagbooks, reading folders, or small reading groups. Here are a few more tips and tricks for making your very own reader helpers:
⦁ Add names to individual readers with vinyl or markers
⦁ Use a solid color cardstock on one side and patterns cardstock on the other
⦁ Use stickers to keep track of how many books students have read
⦁ For K-2, color-coordinate readers to students reading level
⦁ For 3-5, used as reader or a handy bookmark
If you love this craft, you’ll love making your own custom clipboards or custom folder labels. Don’t forget to pin this project for later and let me know in the comments below what other classroom porjects you’d like to see.
