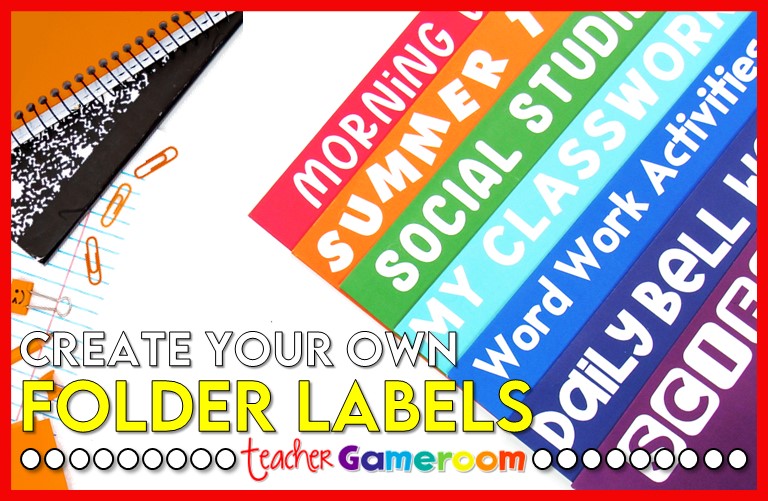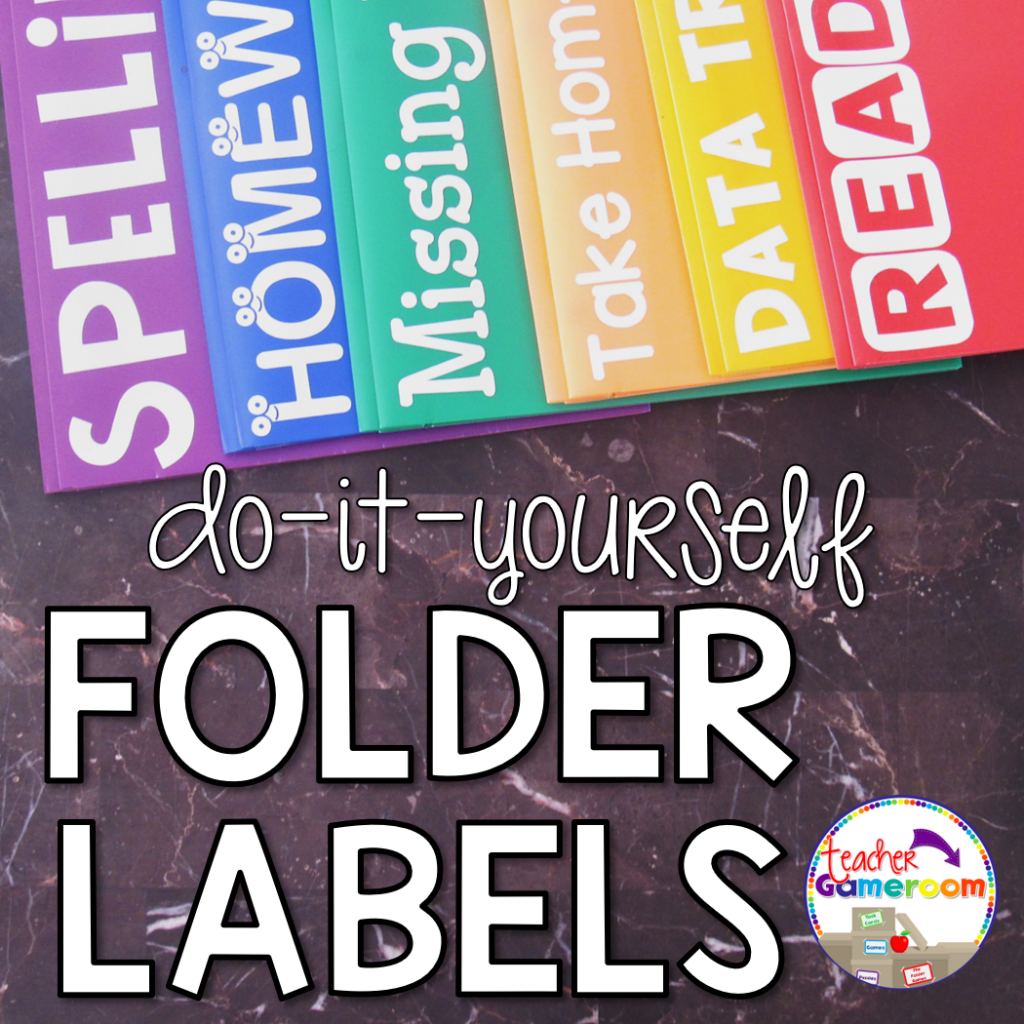
I loved making folders for my classroom, especially my weekly folders. I have many different types and including tons of different forms in each one (learn more about that here). Recently, my folder seems to be missing something. Then, it dawned on me: Labels.
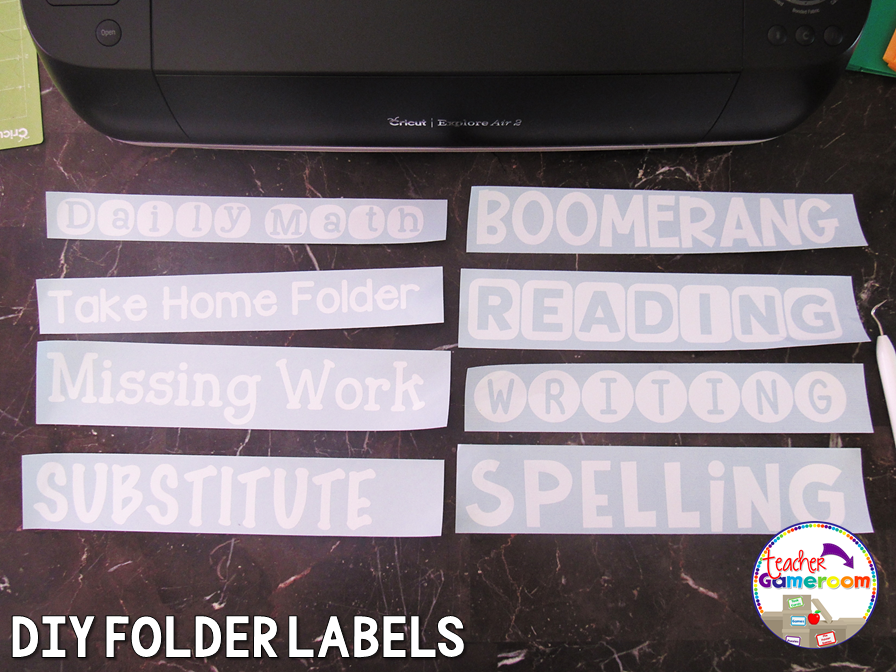
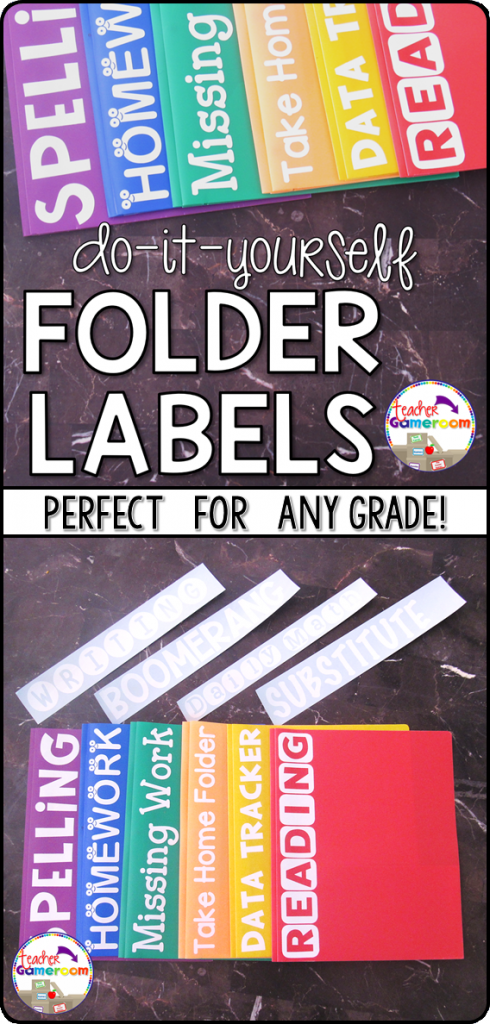
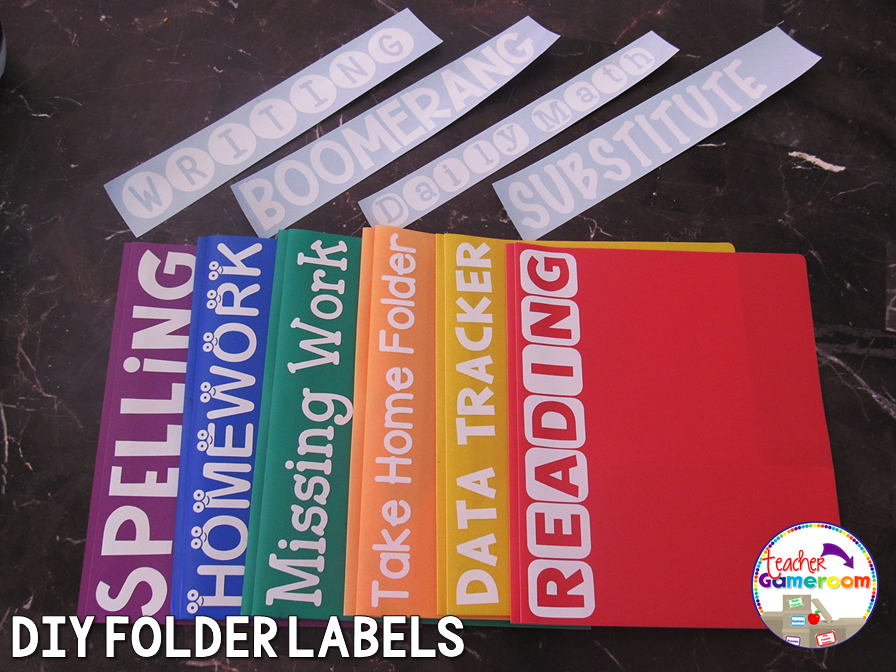
Not just any old labels. Huge labels running down the side of each folder. The labels can be seen from a distance and can be easily identifiable for everyone, student, teacher, and even substitute teacher alike. Now that I have a Cricut, I can make my own and you can too!
GATHER YOUR SUPPLIES!
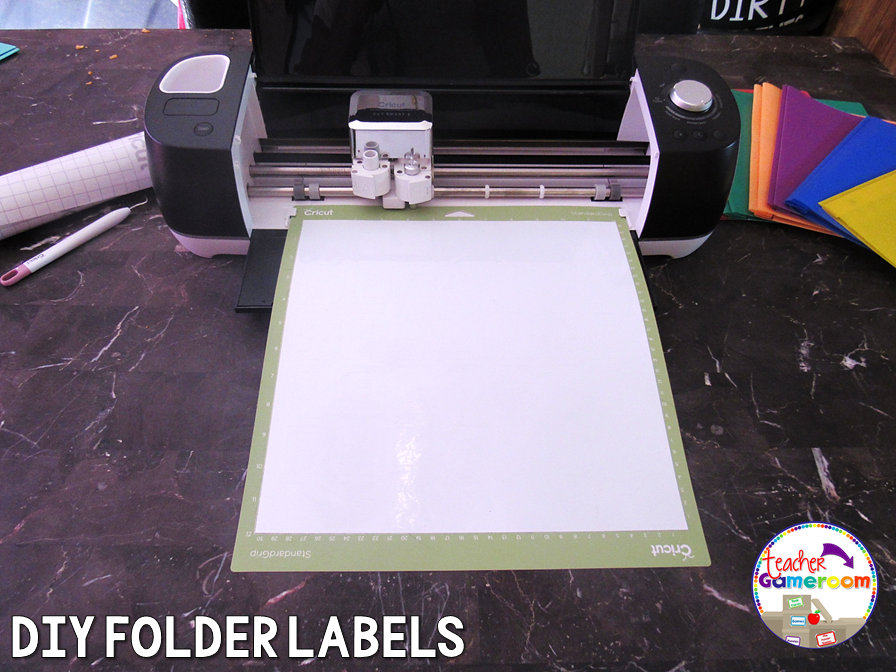
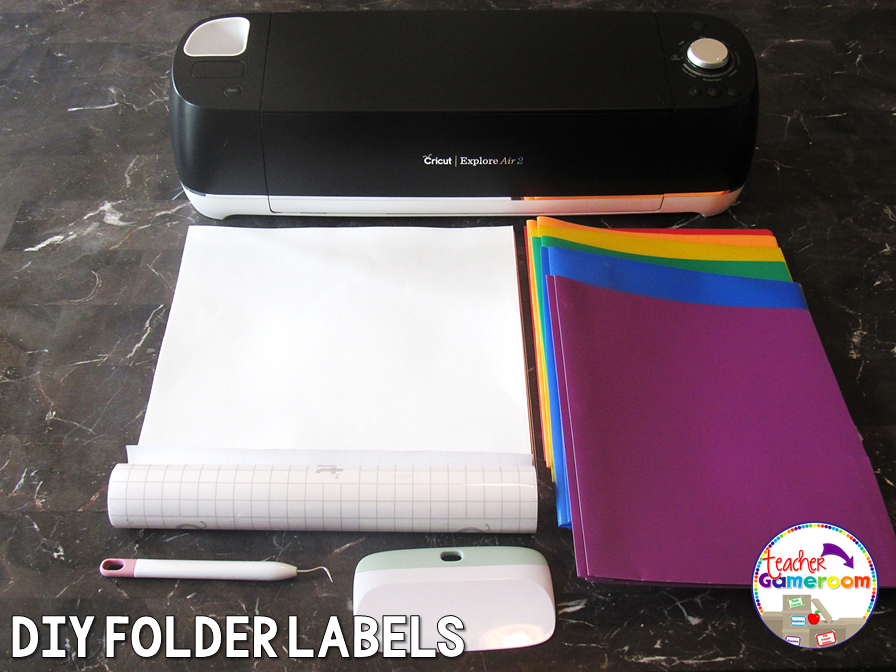
Here are the materials you need to get started. Some are optional while others are necessary. All you really need is vinyl and the folders, but extra materials are extra helpful (in case of mistakes).
Oracal Vinyl 651 color of your choice (White works best) 12×12
Transfer Tape
Ruler or measuring tape
Cricut Machine
Green Standard Vinyl Mat
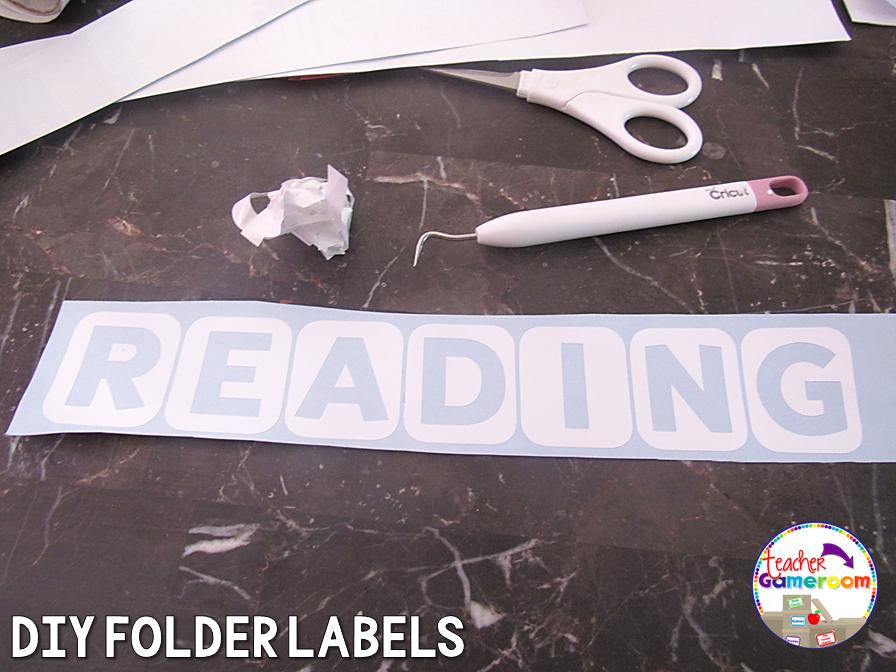
Cricut Tools: Weeding Tool, Scrapper, Scissors
I used “Paper” folder as well as a “grainy” and “smooth” poly-folder. I find that the smooth poly-folder worked best, especially during the applying process. The others gave me a little trouble (that grainy one the most), but I was able to apply the label.
DESIGN YOUR LABELS!
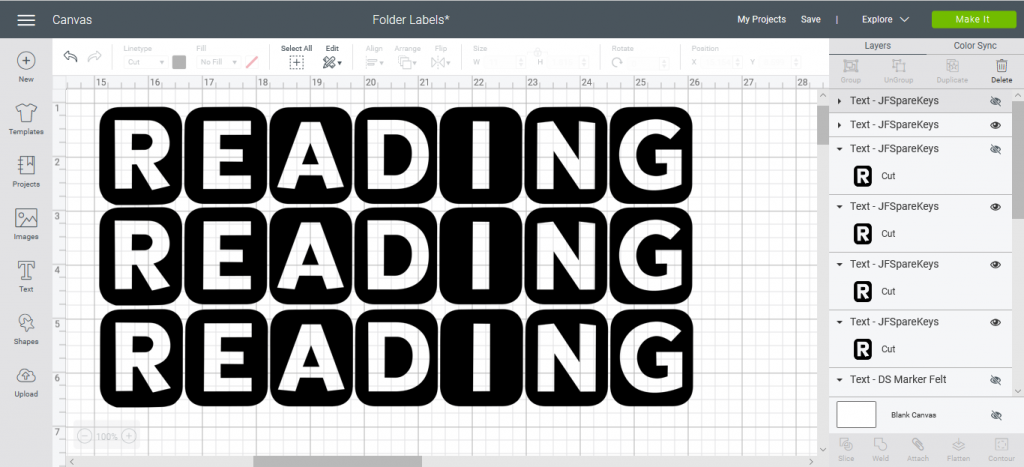
Using a ruler or measuring tape to measure the side of your folder you wish to put the label on. I like to add them to spine (long ways). Most folders are around 9 by 11.5 so make sure your label fits. Also, Cricut cuts have a safety line at 11.5 inches so don’t use that exact measurement unless you have an extra-long mat and vinyl. The fonts I used are from Jackie Golden Fonts but you can use any fonts. I often use KG Fonts because they are free.
APPLY LABELS TO FOLDER!
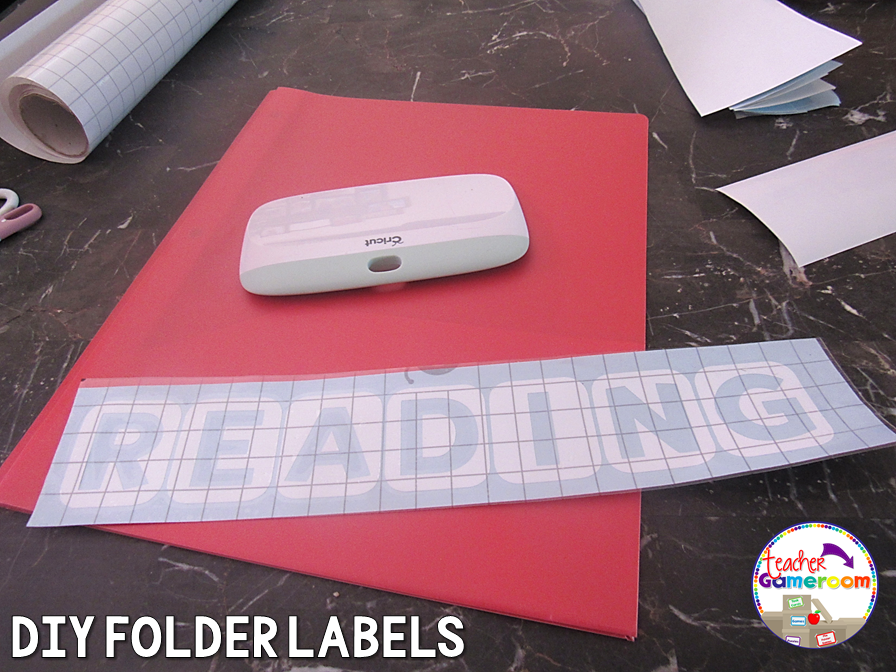
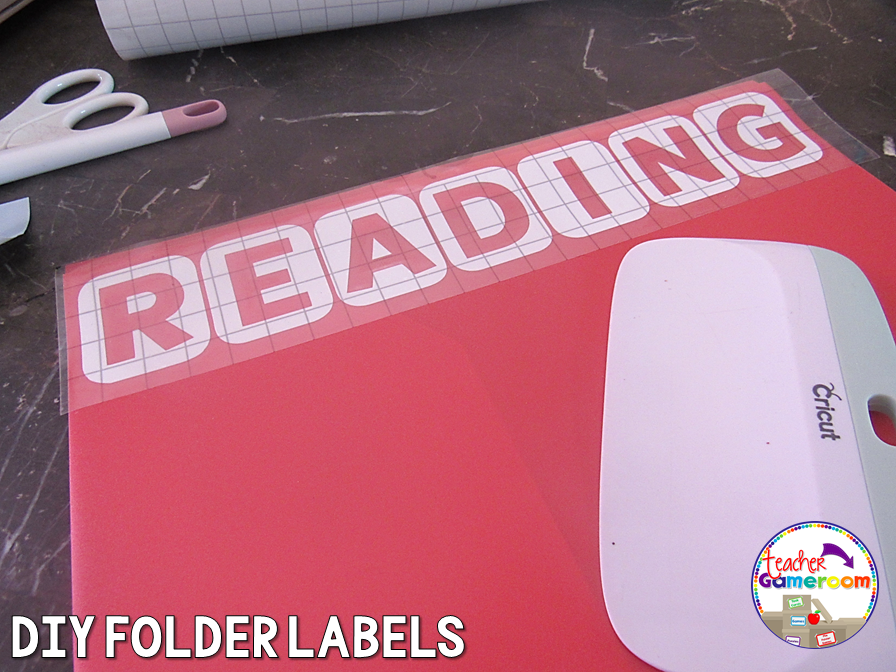
Using Cricut transfer tape (or some other transfer tape) cover your design. Use your scrapper (or an old credit card) and smooth out any crinkles. Try to line up your design with the lines on the transfer tape to ensure a straight, level, design. Before apply your design, be sure to clear the front or back to get rid of any bumps that might appear. Lift the transfer paper with your design and add it to your folder. Use the scrapper again to smooth out any bumps. You may have to lift the design and remove any dust that may have landed on the board. Do so carefully so you don’t rip the label. Pulling slowly at an angle works best.
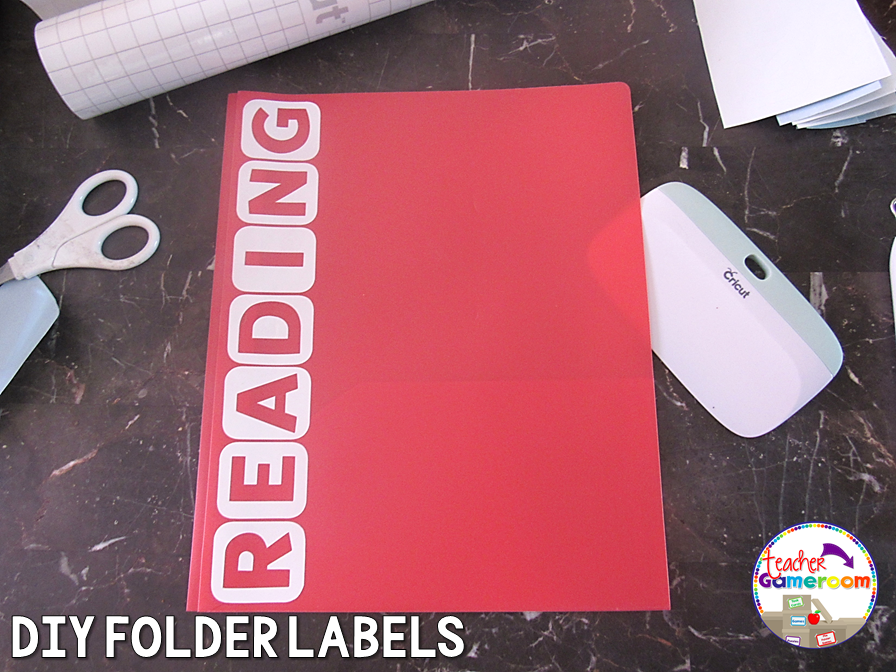
I’d love to see some of the folder labels you created for your classroom. Comment below what other Cricut crafts you’d like to see. Don’t forget to join my email list for more tips and tricks.
Want more Cricut Designs? Check out my DIY Teacher Clipboards, DIY Cricut Classroom readers or my DIY Cricut Bagbooks!


