If you’re looking for a quick, easy gift for a teacher, this is a great gift idea! I’ve heard from many teachers that, while they love teacher mugs, just image if they got one from every student in their class. 20 mugs (or in some cases, 30)!

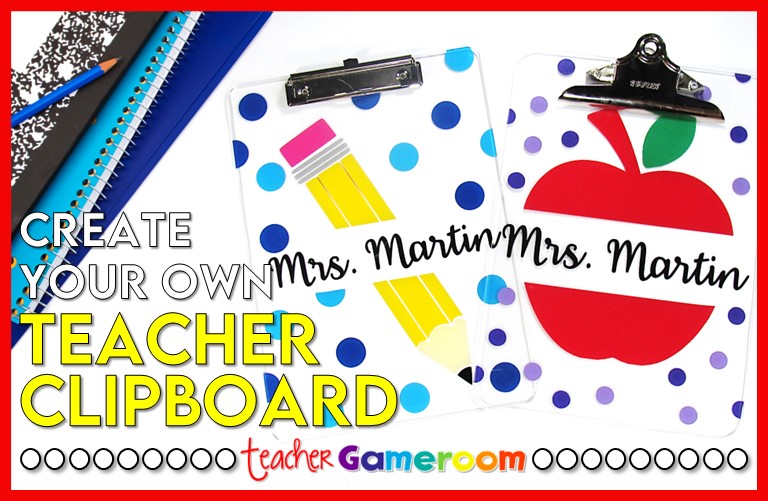
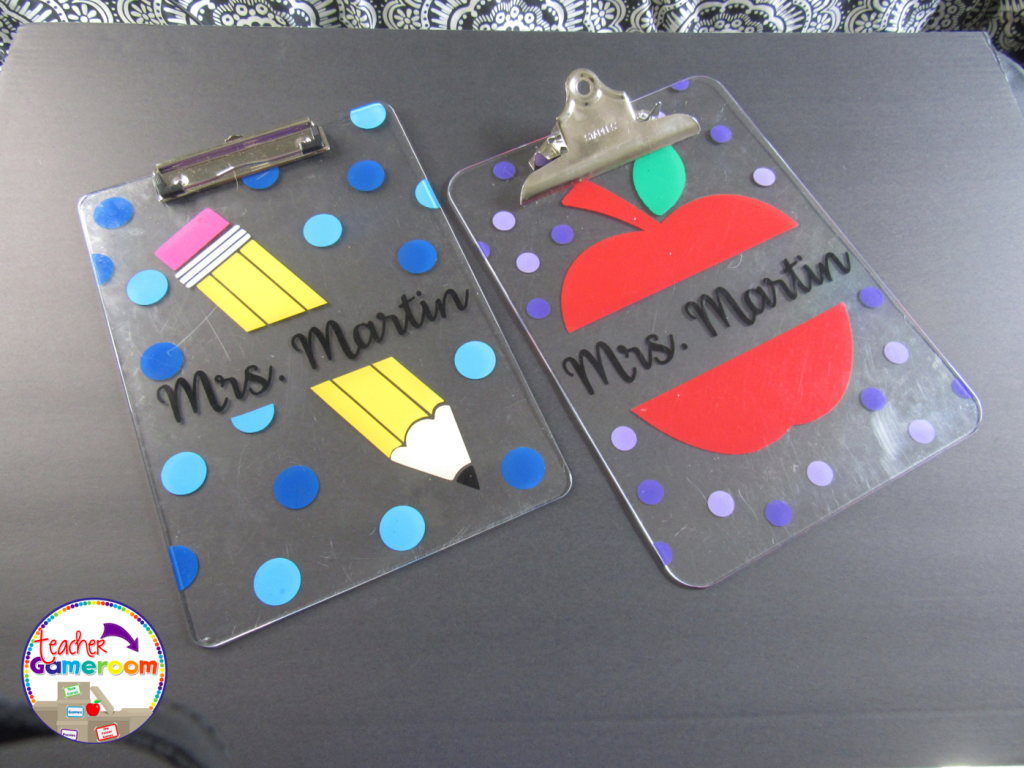
Here’s a simple gift that is perfect and easy to make. Introducing: Teacher Clipboard. Now a clipboard doesn’t seem very thoughtful gift, but if you decorate it their name or other intricate designs, your teacher will love it. There are some very basic designs you can choose from. An apple, a pencil, or even just the name and some dots/stars can make a wonderful gift for a favorite teacher.
GATHER YOUR SUPPLIES!
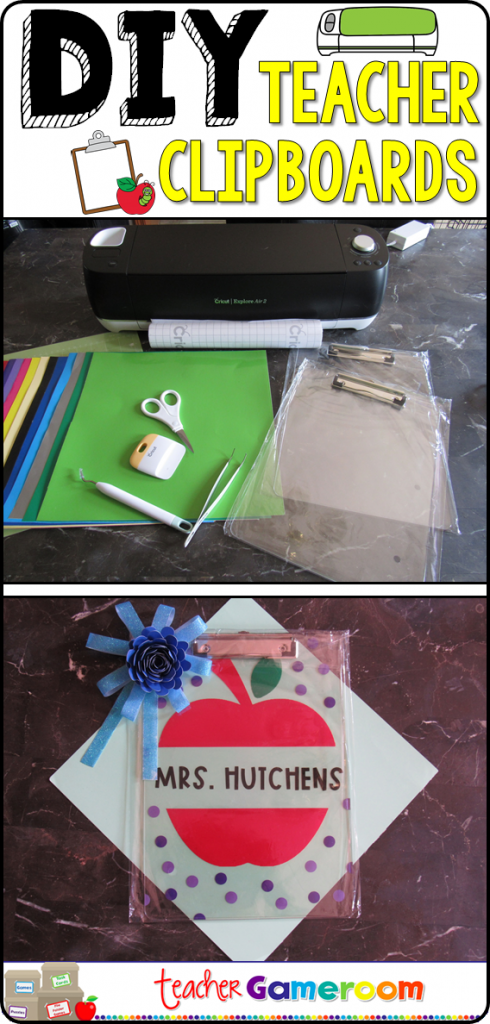
Here are the materials you need to get started. Some are optional while others are necessity. All you really need is vinyl and a clipboard, but extra materials are extra helpful.
Materials Needed:
– Cricut machine
– 651 vinyl (or permanent vinyl)
– Transfer paper
– Clipboard (clear, preferably)
– Gift Wrap Materials (optional)
– Cleaning Materials such as cloth and soap, baby wipes, etc (optional)
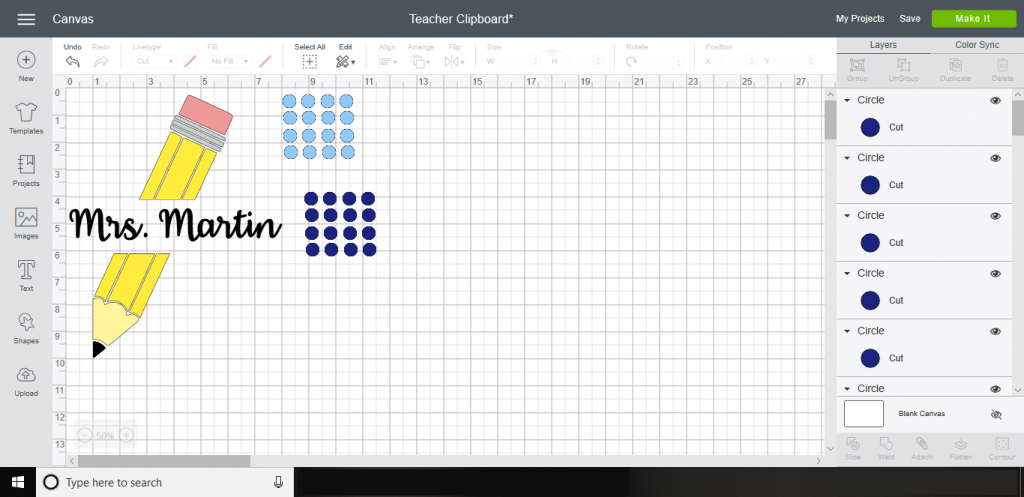
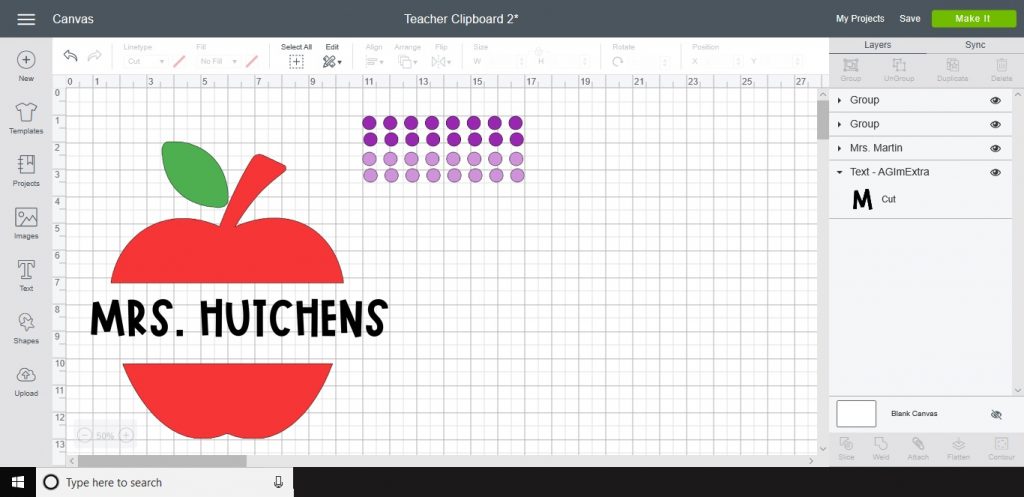
Upload your SVGs and PNGs to design space and get designing. Add as many designs as you like. Most clipboards can hold a standard 8.5 x 11 inch paper so plan to have your design that sizes. (Clipboards are usually bigger than this so this measurement is a safe zone for your design).
CUT IT OUT!
Before you cut out your design, decide which side of the clipboard you are going to put the design on: front or back. If you decided to put it on the front (side with the clip), cut as your normally would. If you decided to place the design on the back, mirror your design. This way, when they see they clipboard, they will see they name. Forgetting to mirror this image would Once designed, cut it out with your cricut. Be sure to change your settings to vinyl.


APPLY TO THE CLIPBOARD!
Once your main design is cut, weed the excess vinyl with your Cricut tools. Be careful not to week the dot for the letter “i” or the period in the teacher’s name (if applicable). If you have trouble seeing where to weed, you can get a Cricut bright pad or something similar to light up your design. I have one and I love it for intricate designs. When all the excess vinyl is removed, it’s time to transfer your design.
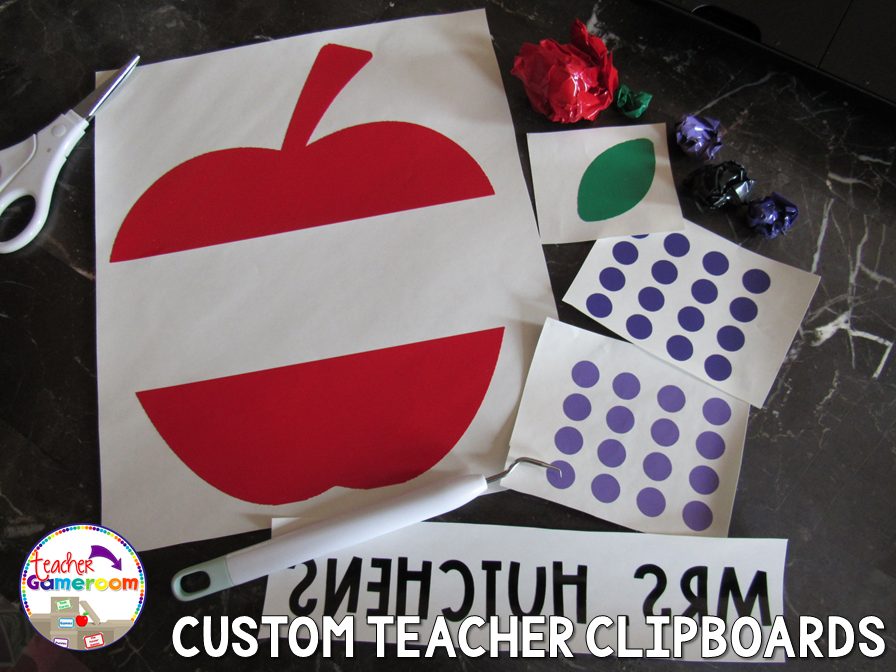
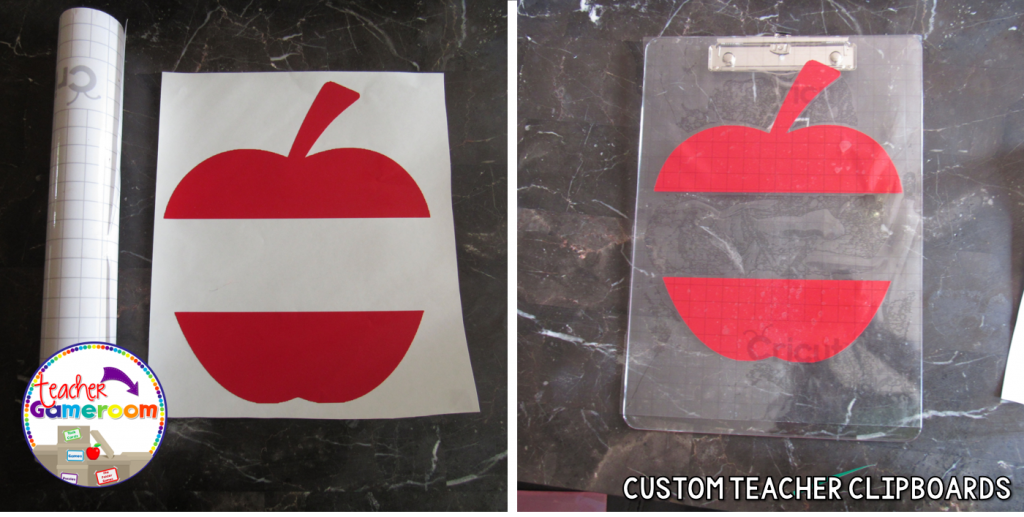
Using Cricut transfer tape (or some other transfer tape) cover your design. Use your scrapper (or an old credit card) and smooth out any crinkles. Try to line up your design with the lines on the transfer tape to ensure a straight, level, design. Before apply your design, be sure to clear the front or back to get rid of any bumps that might appear. Lift the transfer paper with your design and add it to your clipboard. Use the scrapper again to smooth out any bumps. You may have to lift the design and remove any dust that may have landed on the board. Do so carefully.
WRAP UP YOUR CLIPBOARD
Once you are satisfied with your board, you may dress it up with ribbons and bows before presenting to your teacher. These clipboards make a great gift for Teacher’s birthday, Teacher/Staff appreciation gift, or end of the school year gift.
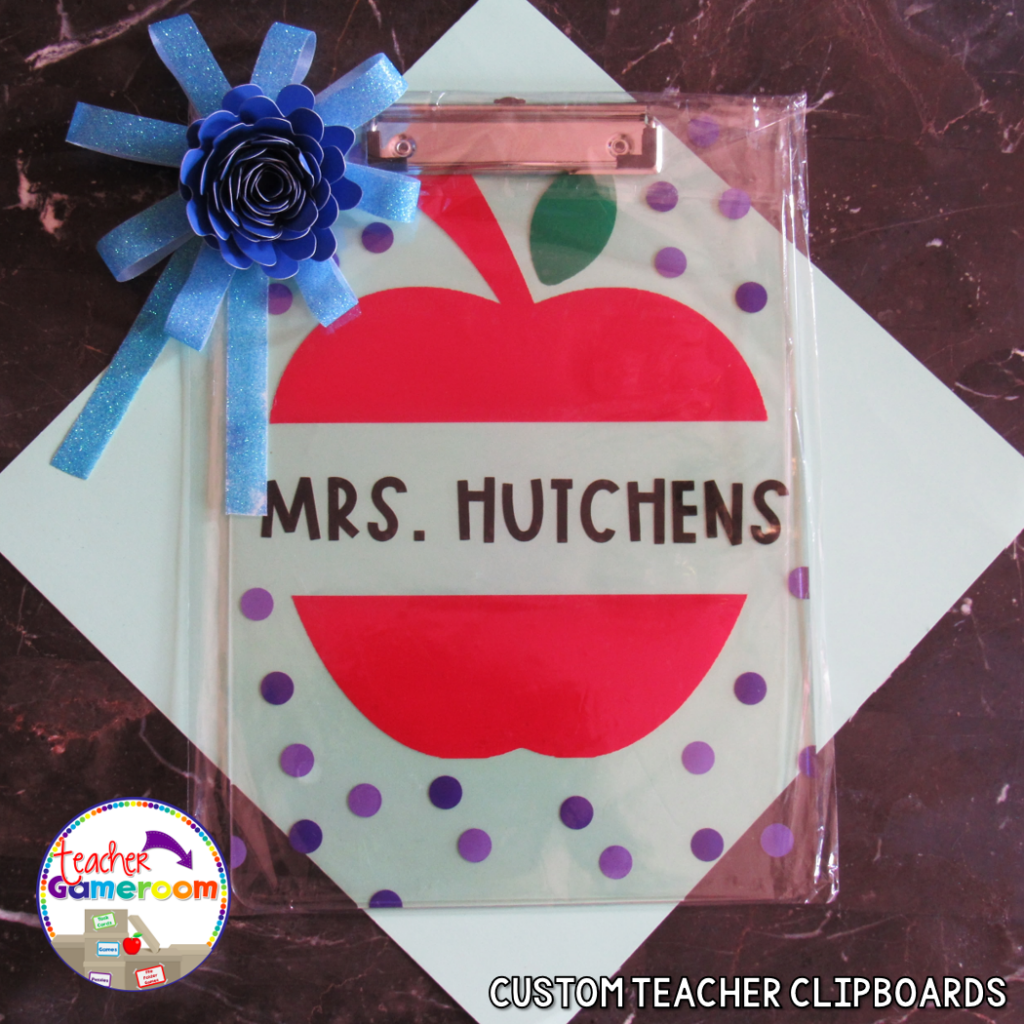
There are many clipboard ideas you can create. Simple teacher quotes or just their name can be such an endearing gift that will last a lifetime. If you make one for your favorite teacher, I’d love to see them! Until then, Happy crafting!
Want more Cricut Designs? Check out my DIY Classroom Folders, DIY Cricut Classroom readers or my DIY Cricut Bagbooks!


